Set Up Okta (SAML)
This page creates a SAML app in Okta that iKanban signs in through. Use it when you choose SAML over OIDC. You need admin access to your Okta org. For another provider, use the SAML values in Company Sign-In: SSO, OIDC and SAML.
1. Create a SAML app integration
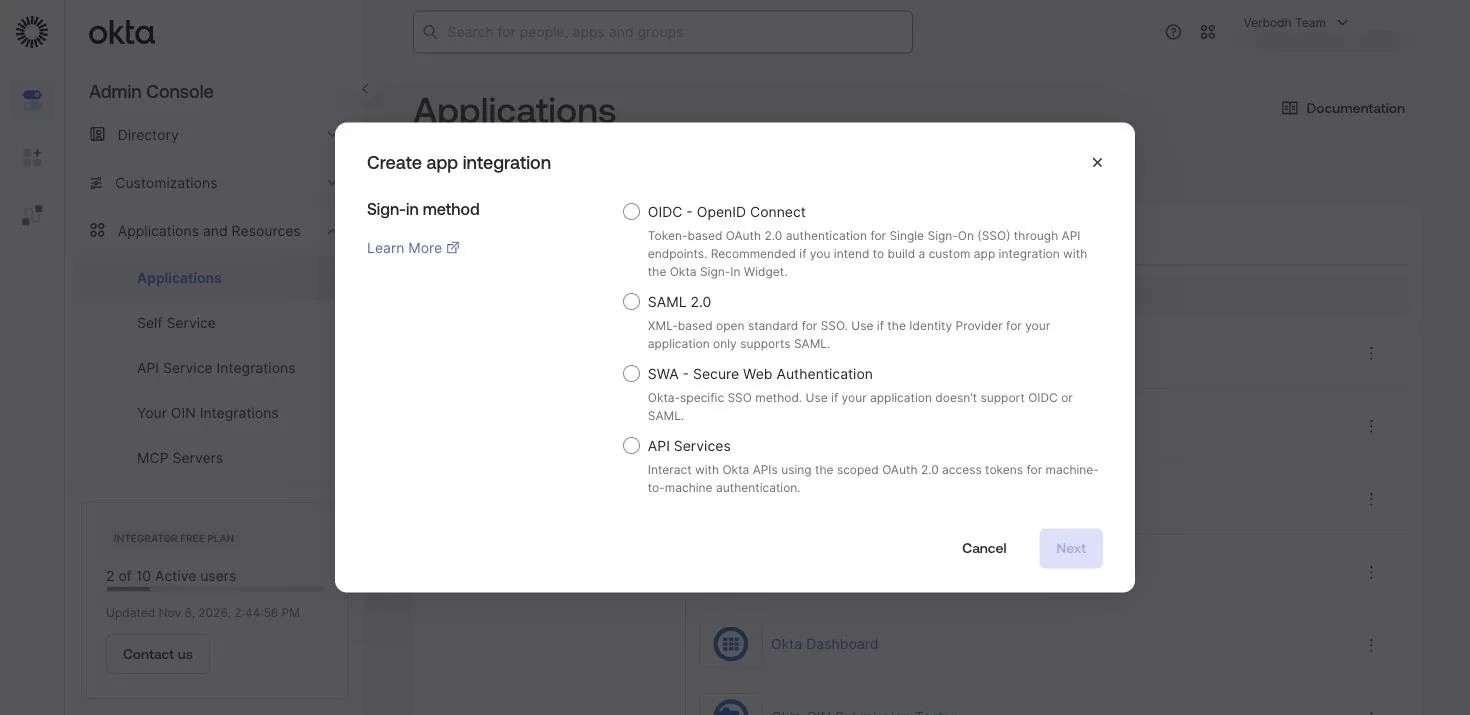
In the Okta admin console, go to Applications → Applications, select Create App Integration, choose SAML 2.0, then select Next.
2. Name the app
Give the app a name your staff will recognise, such as "iKanban", then select Next.
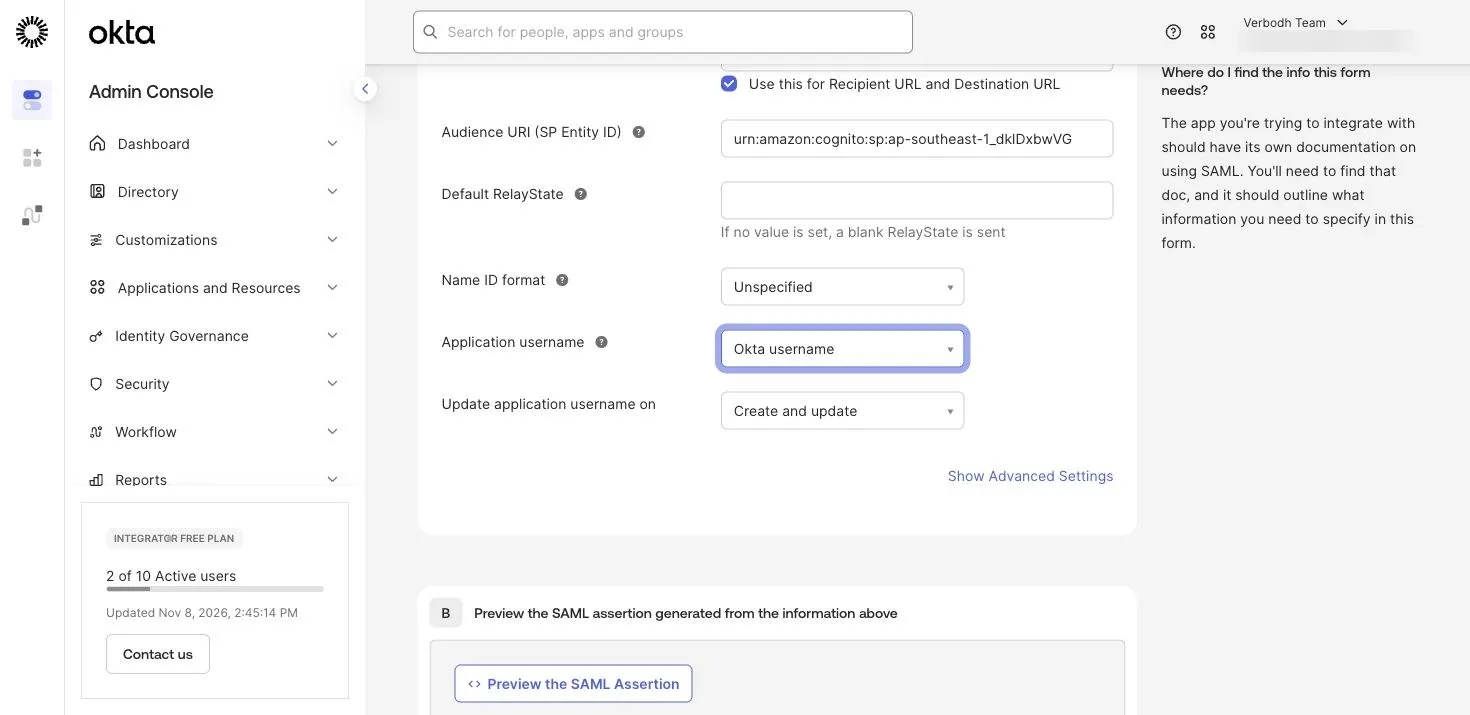
3. Fill in the SAML settings
| Field | Value |
|---|---|
| Single sign-on URL | https://auth.i-kanban.com/saml2/idpresponse. Keep Use this for Recipient URL and Destination URL ticked |
| Audience URI (SP Entity ID) | urn:amazon:cognito:sp:ap-southeast-1_dklDxbwVG |
| Default RelayState | leave empty |
| Name ID format | EmailAddress |
| Application username |
Keep Okta's advanced settings: a signed response and a signed assertion, RSA-SHA256. Select Next. On the feedback page, choose This is an internal app that we have created, then select Finish.
4. Copy the metadata URL
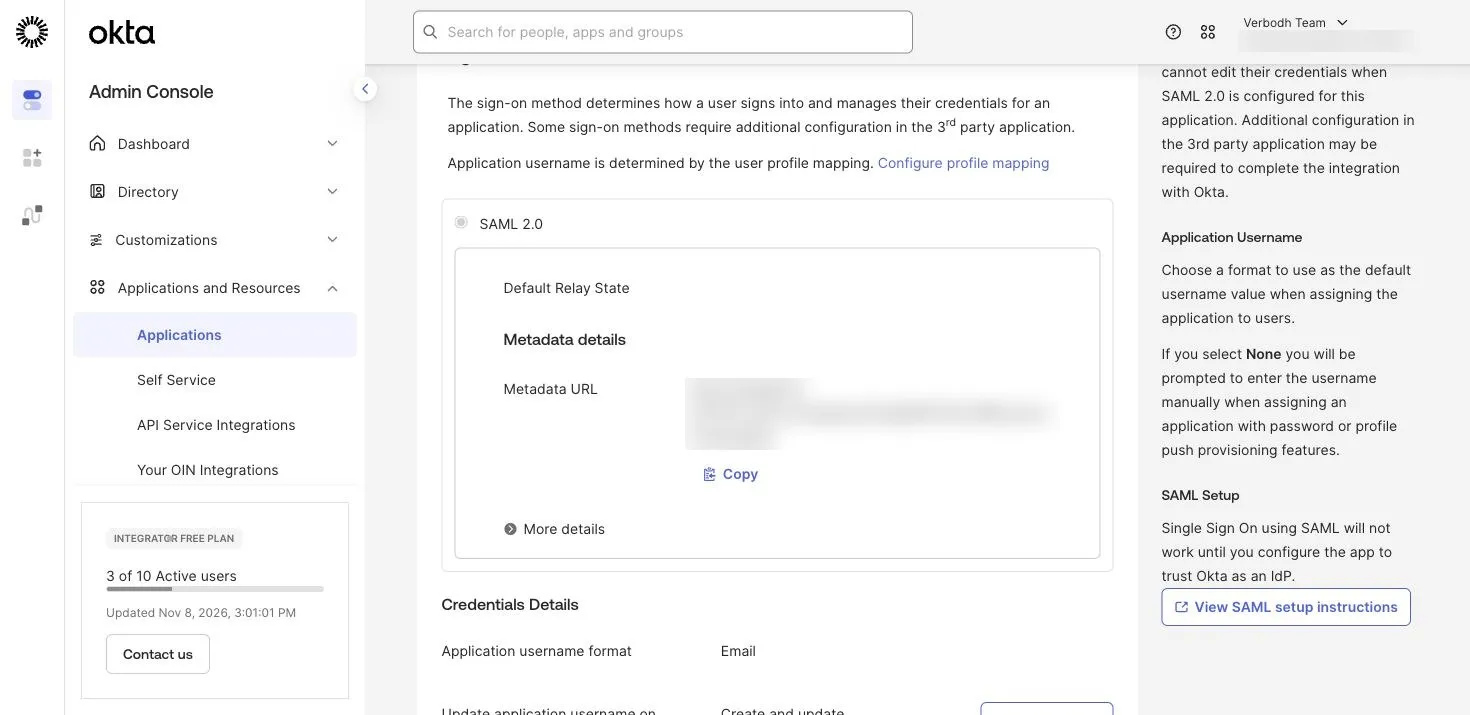
Okta opens the app's Sign On tab. Under Metadata details, select Copy next to Metadata URL. You paste it into iKanban on the next page.
5. Add the attribute statements
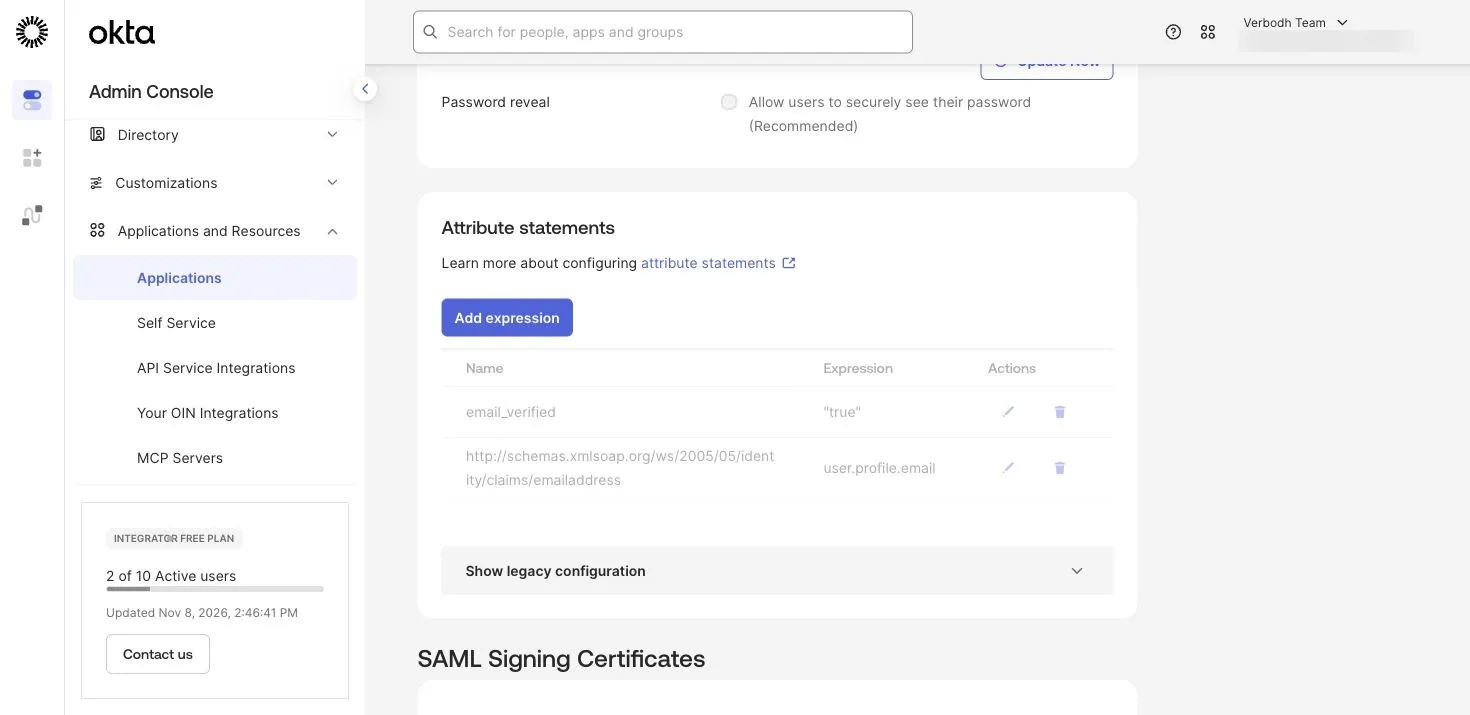
On the Sign On tab, go to Attribute statements and select Add expression twice:
| Name | Expression |
|---|---|
http://schemas.xmlsoap.org/ws/2005/05/identity/claims/emailaddress | user.profile.email |
email_verified | "true", with the quotes |
iKanban refuses a user whose email is not marked as verified, and Okta does not send email_verified by default. Okta's editor refuses user.email; use user.profile.email.
6. Assign people
Open the Assignments tab and select Assign → Assign to People (or Assign to Groups). Assign a test user first, and the rest of your staff after the test sign-in works.
Next
Prove your domain and connect: choose SAML → URL on the Connection card and paste the metadata URL.