Quick Start Guide
Create a team issue, open its saved page, and update its status.
Verified on the development environment on 24 September 2026. Screenshots use a documentation sample.
Before you start
Sign in to your workspace. You need access to a team with at least one project and one Feature available for selection. The workspace must allow new issues.
A Feature is the product area the issue belongs to. Type: Feature, Type: Bug, and Type: Chore describe the kind of work; selecting a type does not select a Feature.
1. Open New Issue
- Expand the left sidebar if it is collapsed.
- Select your team's Issues page.
- Click New Issue in the toolbar.

2. Enter the issue details
- Enter an Issue title, such as
Review onboarding checklist. - Add the requirements and acceptance criteria in Add description....
- Check the project chip. The form may preselect a project; change it if necessary.
- Select Low, Medium, High, or Urgent from No priority.
- Select the work type. For this example, choose Type: Chore.
- Select 1 point from Estimate.
- Open Feature and select the relevant product area. The example uses
documents; your team's names will differ.
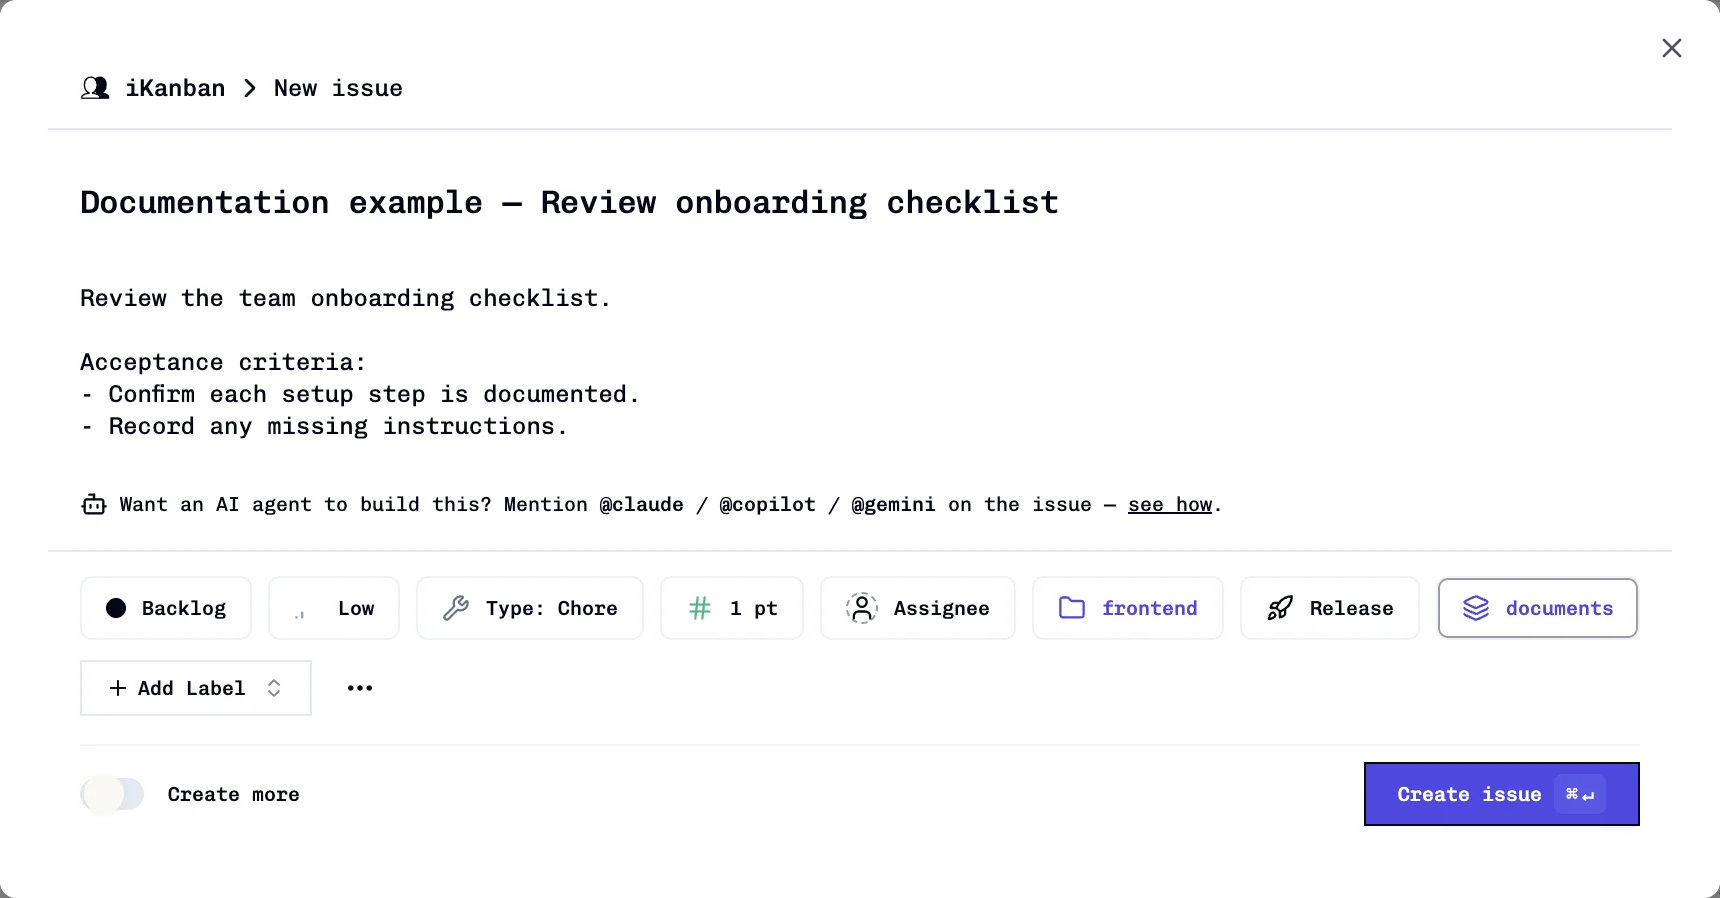
The form starts with Backlog, No priority, Type: Feature, and no estimate or Feature association. Create issue remains disabled until the title, project, priority, estimate, and Feature are set.
Leave Create more off for this walkthrough. If you leave Assignee unset, the saved issue defaults to the team's AI member; choose a team member explicitly when a person should own it.
3. Create and reopen
- Click Create issue.
- Wait for the creation confirmation and click View issue.
- Check the saved title, description, and Properties.
- Reload the page to confirm the issue persists.
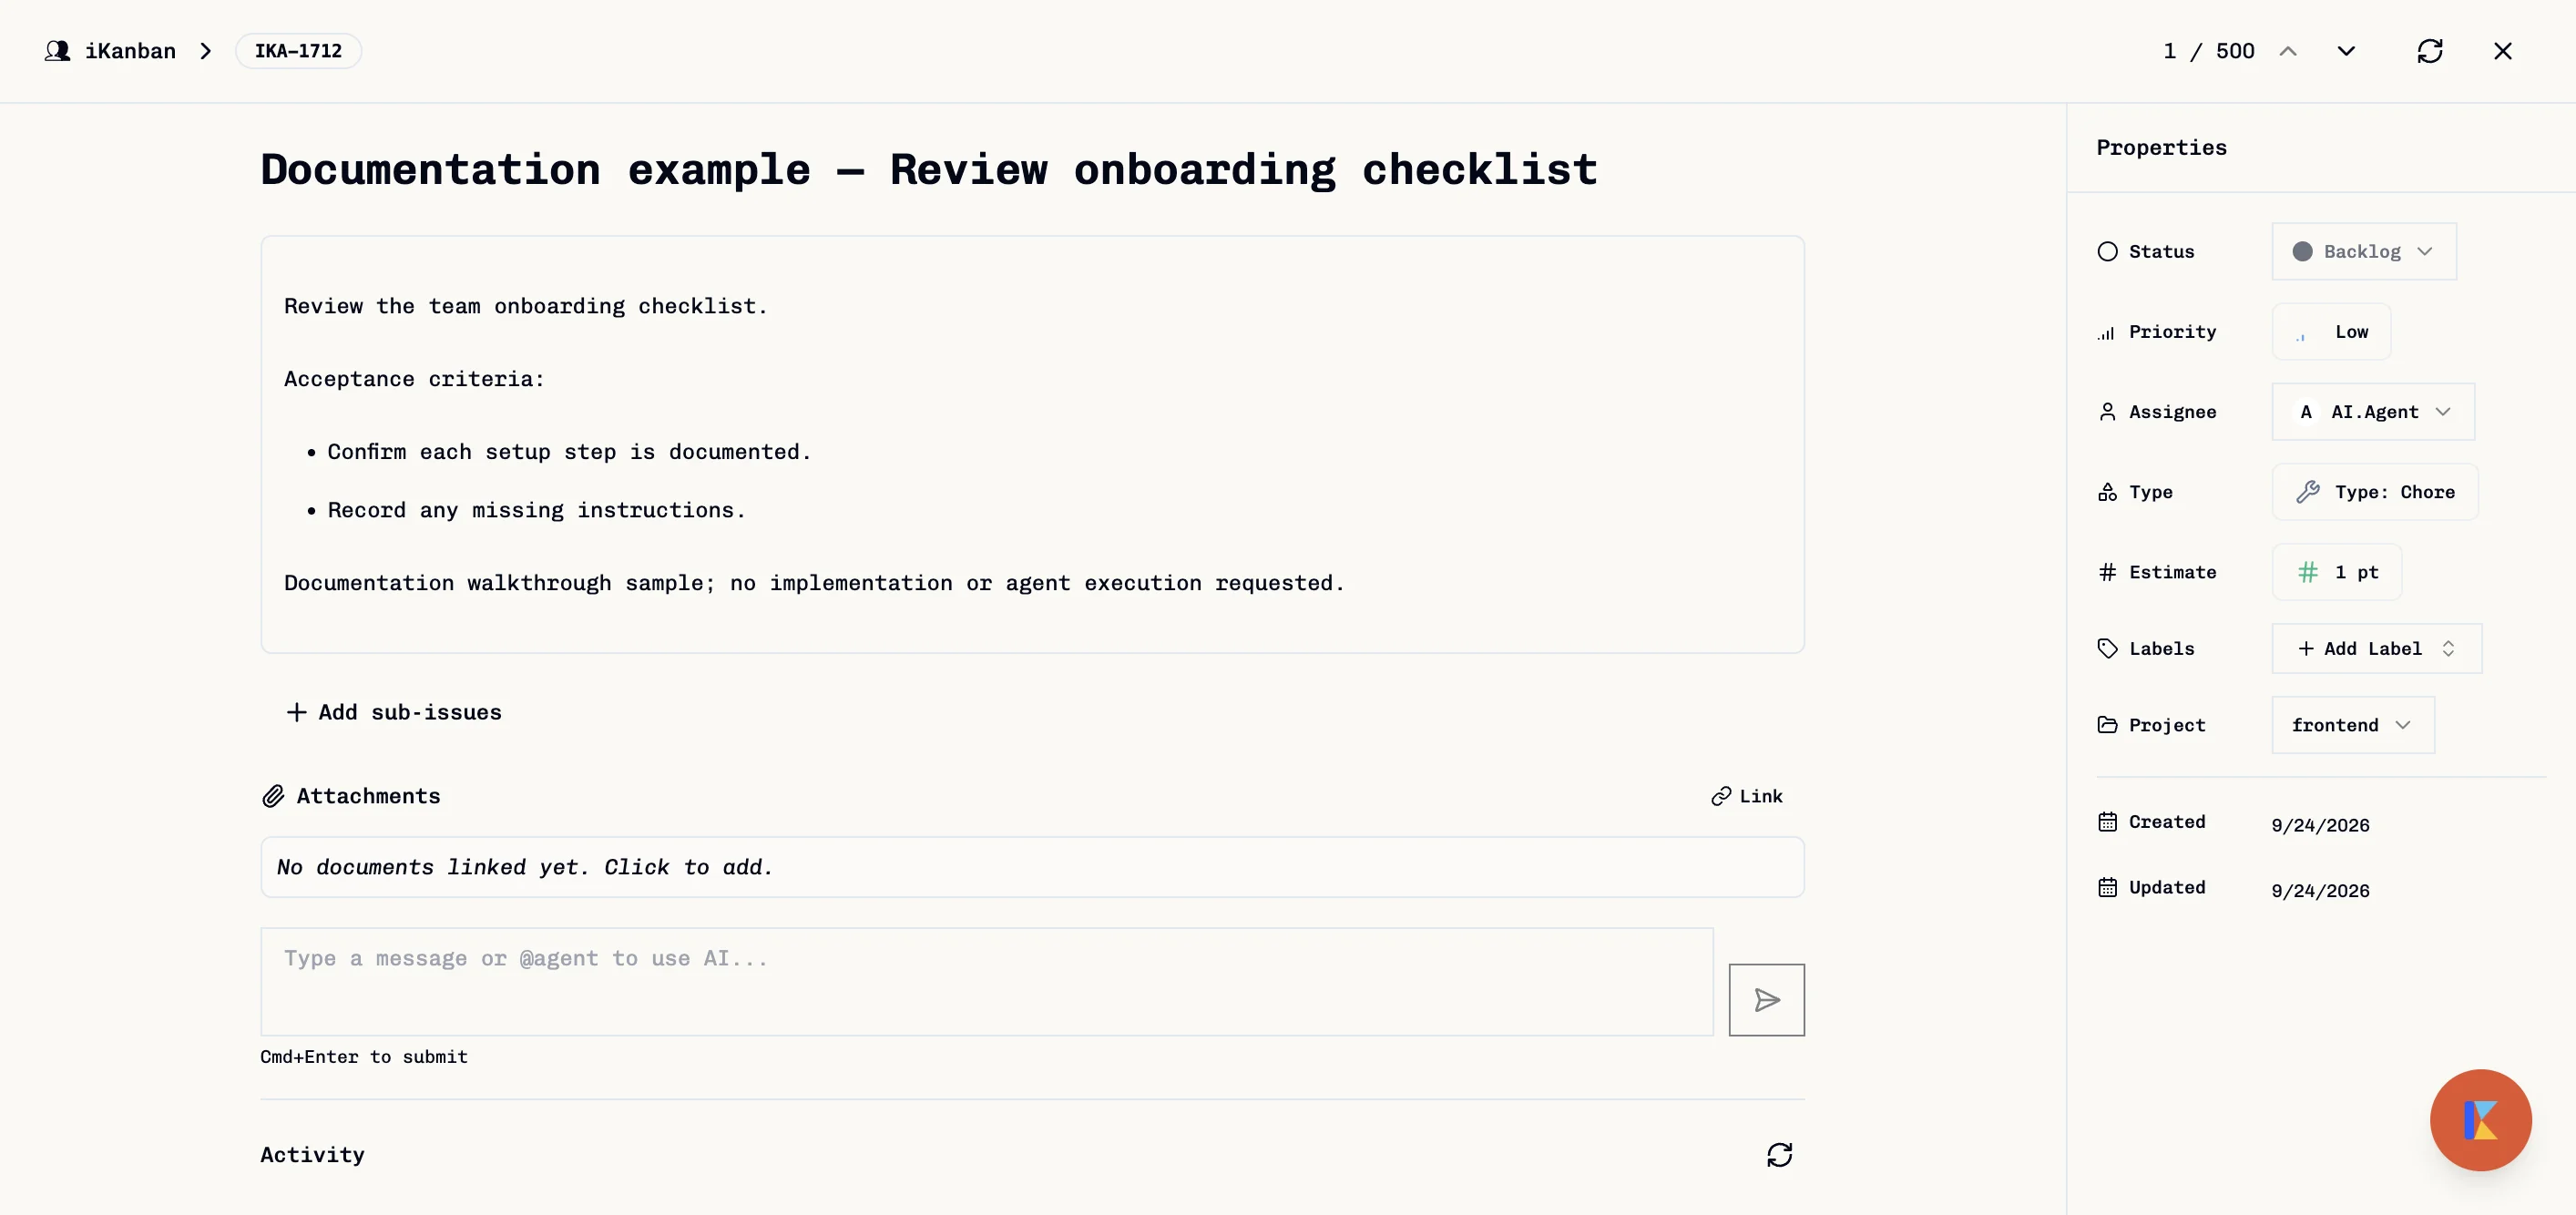
The issue receives a team identifier, such as ENG-42. Copy the browser URL while its detail page is open to share its location with someone who has access. The URL is team-scoped: /teams/<team>/issues/<issue-key>.
4. Update the status
- In Properties, click Status.
- Select In Progress.
- Reload and confirm the selected status remains.
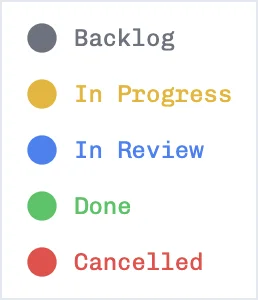
The status change saves on selection; there is no separate Save button for this field. On a narrow screen, open Properties to reach the status control.
If you cannot continue
| Symptom | Check |
|---|---|
| Create issue is disabled | Enter a title and select a project, non-empty priority, estimate, and Feature. |
| Feature is still required after choosing Bug or Chore | Select the separate Feature field. It is required for all three types, despite the current hint mentioning only Feature tasks. |
| No project or Feature is available | Ask your team maintainer to configure one before creating the issue. |
| Creation returns an access or limit error | Check your team access and workspace availability with an administrator. |
Existing-description editing limitation: during verification, clicking Save after editing an existing issue's description returned HTTP 404 and the edit did not survive reload. Include the full description when creating the issue, keep a copy of later edits, and verify persistence before relying on them.
For field details and editing controls, see Creating Tasks. To connect an external AI client later, see MCP Usage.