Releases
Use a release to collect issues planned for a delivery and track its status, dates, lead and ship gate. Releases can cover one project or the whole team.
Create a release
- Open the team and select Projects → Releases.
- Choose Whole team (all apps) or a project from the scope selector. The selected scope is where the new release will be created.
- Click New release. The form opens inline on the page.
- Enter a recognizable Name. Set Status (Planned, Active, Shipped or Cancelled), Start date, Target date, Ship gate (%), and Lead as needed. Add an optional description.
- Click Create release. The release appears in the selected scope.
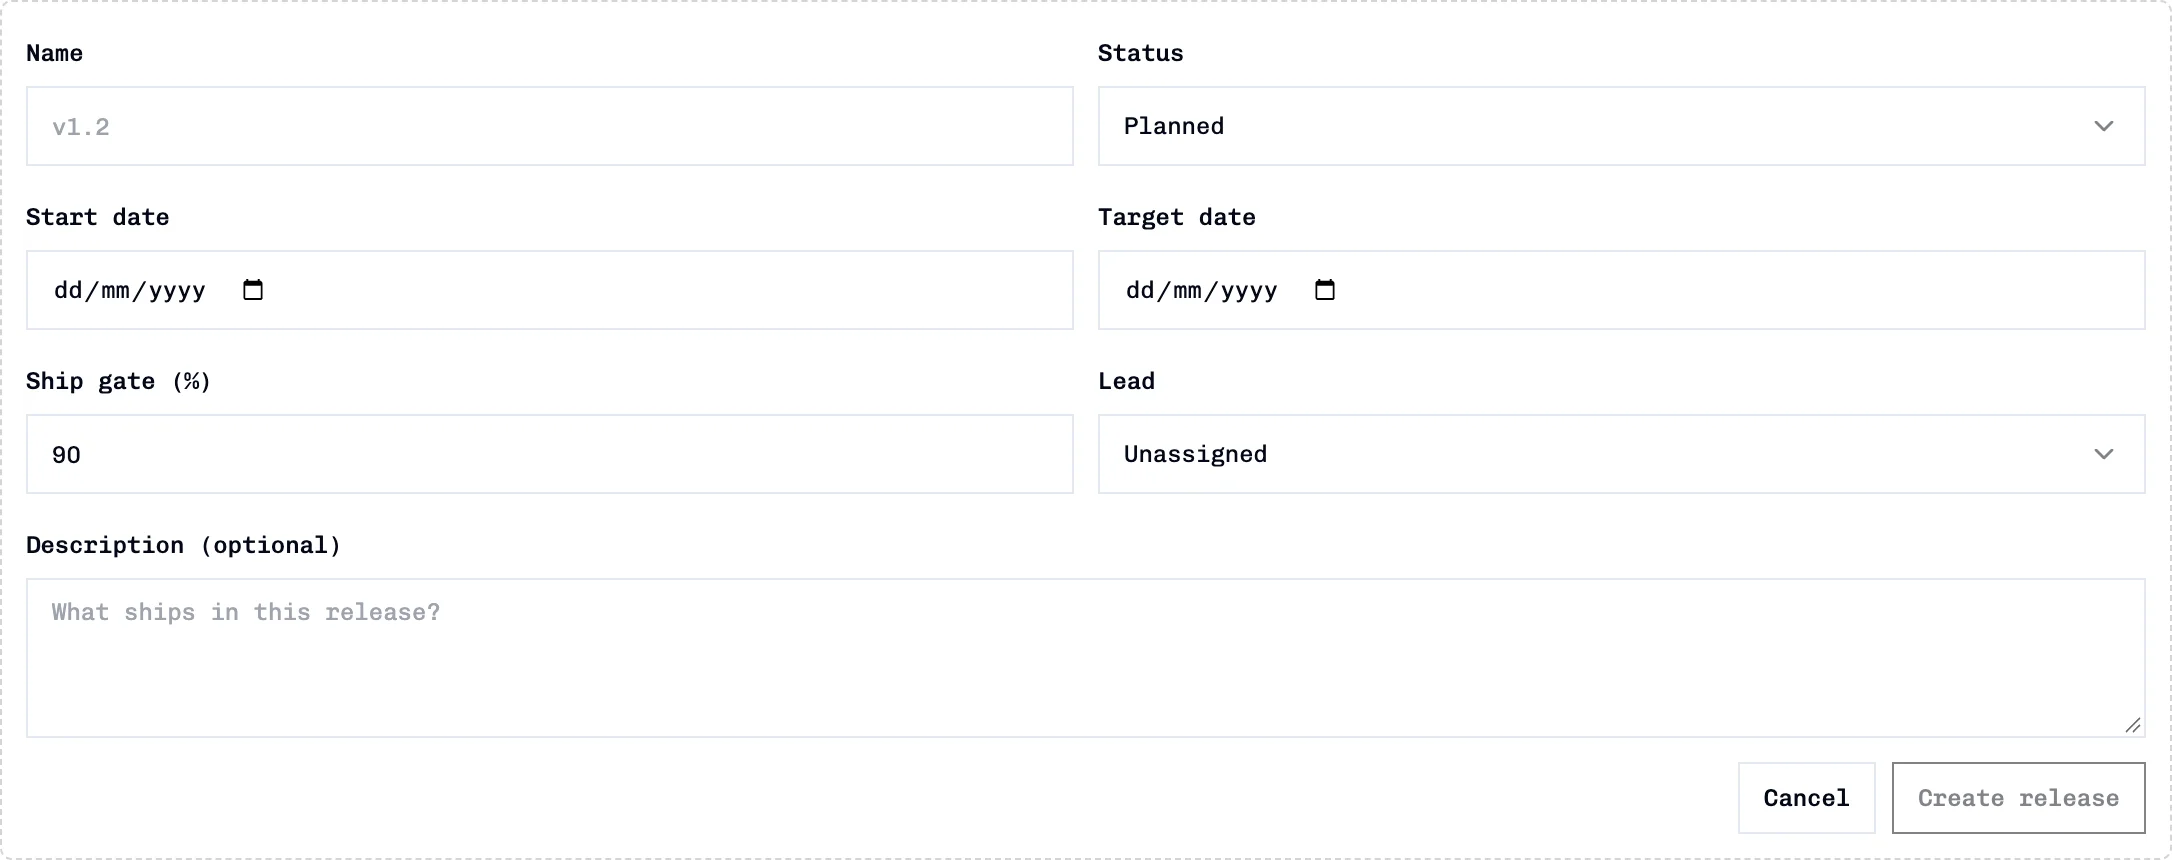
The default status is Planned and the default ship gate is 90%. Dates, lead and description are optional. A release needs a name before it can be created.
Add issues to a release
- On the release row, expand Issues.
- Click Add issues.
- Optionally filter by issue title/number, sprint or status.
- Select individual issues and click Add selected, or use Add all for every issue matching the current add-list filters.
Assigned issues show their status and sprint. Use the page-level search, sprint and status controls to filter the assigned list. Removing an issue from a release does not delete the issue.
For a team-wide release, the add list can include issues across projects. If an issue already belongs to another release, adding it here moves its release assignment.
Edit, ship, or delete
- Edit release changes its fields. In edit mode, Scope can move it between a project and whole-team scope.
- Ship & start next is available on an active release. Review the confirmation choices for unfinished issues before confirming.
- Delete release opens a confirmation that includes the release name and issue count. Deleting a release is separate from deleting its issues.
Troubleshooting
| Symptom | Check |
|---|---|
| No releases appear | Confirm the selected project/team scope; project and team-wide releases are separate lists. |
| An issue is missing from Add issues | Clear the text, sprint and status filters; issues already in this release are excluded. |
| A release is absent from Release Analysis | Select the scope that owns it; the analysis release selector follows the selected scope. |
See Release Analysis for release progress charts, and Launch Readiness for ship-readiness checks and CI data inputs.